In today’s fast-paced world, constant notifications can be overwhelming. The iPhone‘s “Do Not Disturb” feature offers a simple solution to reclaiming focus and tranquility. Whether it’s during a meeting, while studying, or simply needing some downtime, this handy tool lets users silence calls and alerts with ease.
Activating “Do Not Disturb” not only helps maintain concentration but also fosters a healthier relationship with technology. With just a few taps, iPhone users can customize settings to ensure that important contacts can still reach them while blocking out distractions. This guide will explore how to effectively use the “Do Not Disturb” feature, empowering users to take control of their digital experience.
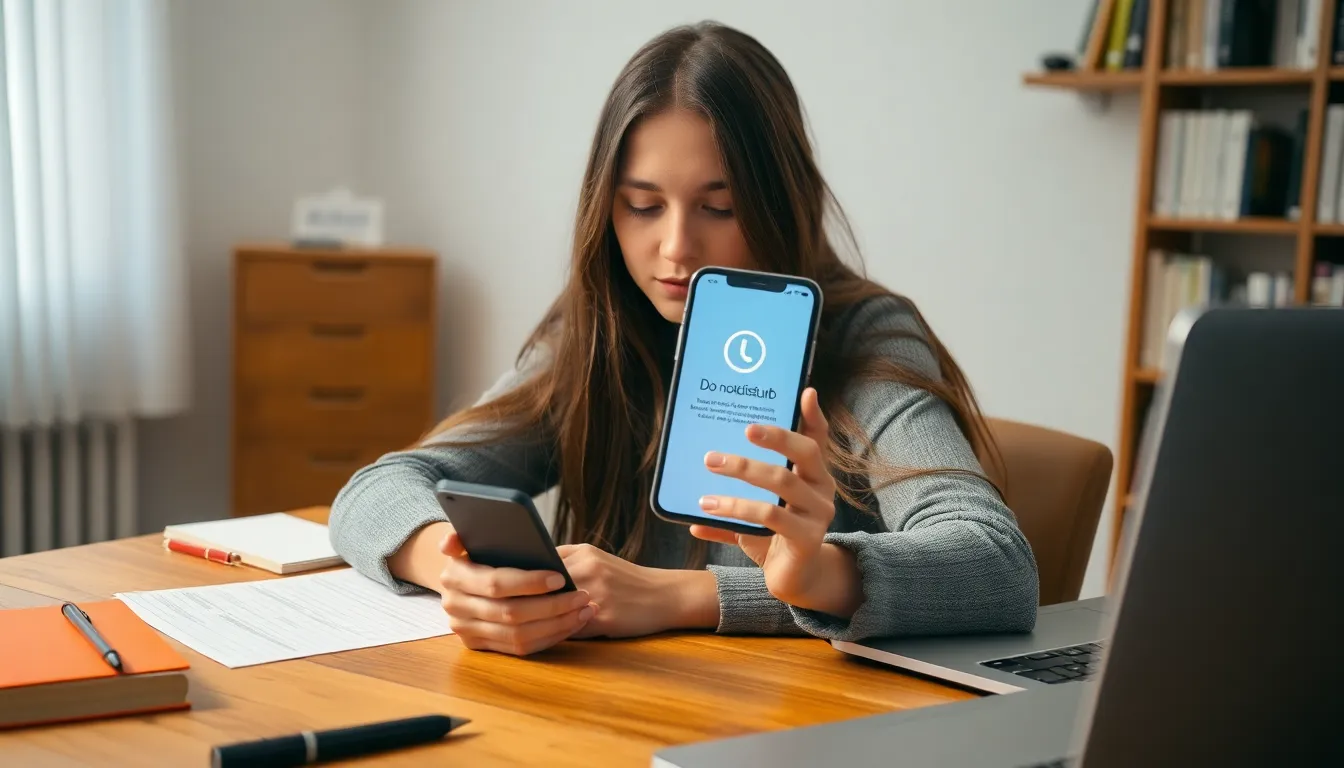
Overview of Do Not Disturb Feature
The “Do Not Disturb” feature on iPhones helps users minimize distractions by silencing notifications. This function allows users to focus on tasks or enjoy personal time without interruptions.
Users can customize how this feature operates. They can allow calls from specific contacts or enable notifications from apps deemed important. These settings ensure essential communications are not missed while silence reigns for less crucial alerts.
Activation of “Do Not Disturb” can occur manually or through scheduled times. Scheduling provides flexibility, letting users set automatic silencing during meetings, work hours, or sleep. This adaptability enhances its effectiveness in various scenarios.
The feature also includes options such as “Always” or “While iPhone is locked,” which allows further control over when notifications are received. Each configuration aligns with individual preferences and enhances user experience, promoting a balanced interaction with technology.
Setting Up Do Not Disturb on iPhone

Setting up the “Do Not Disturb” feature on iPhone allows users to manage notifications effectively. It enhances focus by creating a serene environment free from interruptions.
Accessing Settings
Accessing the “Do Not Disturb” settings involves the following steps:
- Open the Settings app: Locate and tap on the Settings icon on the home screen.
- Select Focus: Scroll down and tap on the Focus option.
- Tap Do Not Disturb: Choose Do Not Disturb from the list of focus modes to view its settings.
In this section, users can toggle the feature on or off, and customize options to suit individual needs.
Customizing Scheduled Times
Customizing scheduled times for “Do Not Disturb” provides flexibility to users.
- Enable Scheduled: Tap the toggle to enable the schedule option.
- Set Start and End Times: Specify the start and end times for periods when notifications will be silenced, ensuring alignment with work hours, meetings, or sleep schedules.
- Adjust Recurring Days: Select specific days of the week for this schedule to recur, allowing consistent management of distractions.
By setting schedules, users can ensure they remain undisturbed during crucial times while still being reachable when necessary.
Using Do Not Disturb in Different Scenarios
Using the “Do Not Disturb” feature on an iPhone can bring significant relief in various situations. This functionality allows users to customize their experience based on specific contexts, promoting focus and minimizing interruptions.
During Meetings
Activating “Do Not Disturb” during meetings ensures a distraction-free environment. Users can silence all incoming calls and notifications, allowing full attention to discussions. They can set exceptions for important contacts, ensuring critical calls can still come through. By enabling this feature manually or scheduling it for regular meeting times, users maintain professionalism and focus. Quick access through the Control Center makes activation seamless.
At Night
Using “Do Not Disturb” at night supports better sleep quality. Users can schedule this feature to activate automatically at specific times, silencing all notifications during their sleeping hours. For essential emergencies, contacts can be designated to bypass the silencing, ensuring important communications are received. This customization encourages undisturbed rest, thereby enhancing overall well-being and productivity the following day.
Managing Exceptions and Allowances
Managing exceptions and allowances within the “Do Not Disturb” feature enhances user control over notifications, ensuring essential communications are still accessible. This section details how to customize these settings effectively.
Allowing Calls from Specific Contacts
Enabling calls from specific contacts allows users to maintain connectivity during “Do Not Disturb” mode. To set this up, users access the Focus settings under the Settings app. From there, they select “People” and tap “Add People” to designate contacts who can reach them even when the feature is active. Options range from allowing calls from favorites to permitting notifications from specific individuals, ensuring important communications are prioritized.
Setting Up Repeated Calls
Setting up repeated calls facilitates receiving urgent communications during “Do Not Disturb” mode. This feature permits a second call from the same contact within three minutes to bypass the silent setting. To activate this, users should navigate to the Focus settings, select “People,” then toggle on “Allow Repeated Calls.” This functionality ensures that critical messages or emergencies are not overlooked, enhancing overall safety while still minimizing distractions.
Embracing the “Do Not Disturb” feature on an iPhone can transform the way users interact with their devices. By silencing unwanted notifications and customizing settings, individuals can create a more focused and peaceful environment. Whether it’s during work hours or while enjoying personal time, this feature allows for better concentration and a healthier balance with technology.
With the ability to manage exceptions and schedule silencing, users can ensure they’re reachable for important communications without the constant barrage of distractions. Adopting this feature not only enhances productivity but also promotes overall well-being, making it an essential tool for anyone looking to regain control over their digital life.